Friday, April 4, 2014

Engine refurbishment complete

Today all the different Yanmar engine projects saw their completion with the running of the engine for about 20 minutes at the the end of the day. To sum up; The engine had not been started in at least 2 years so I set about replacing all the key parts.
1. I removed the 2 year old diesel fuel from the starboard tank to the port tank and put 5 gallons of fresh diesel into the port tank and used that. The old diesel actually looked OK.
2. I replaced  the 4 engine mounts
3. I replaced the oil and oil filter.
3. I replaced the 2 fuel filters and cleaned out the racor filter.
4. I cleaned out the sea water cooling system
5. I replaced  the water impeller.
6. I replaced the thermostat.

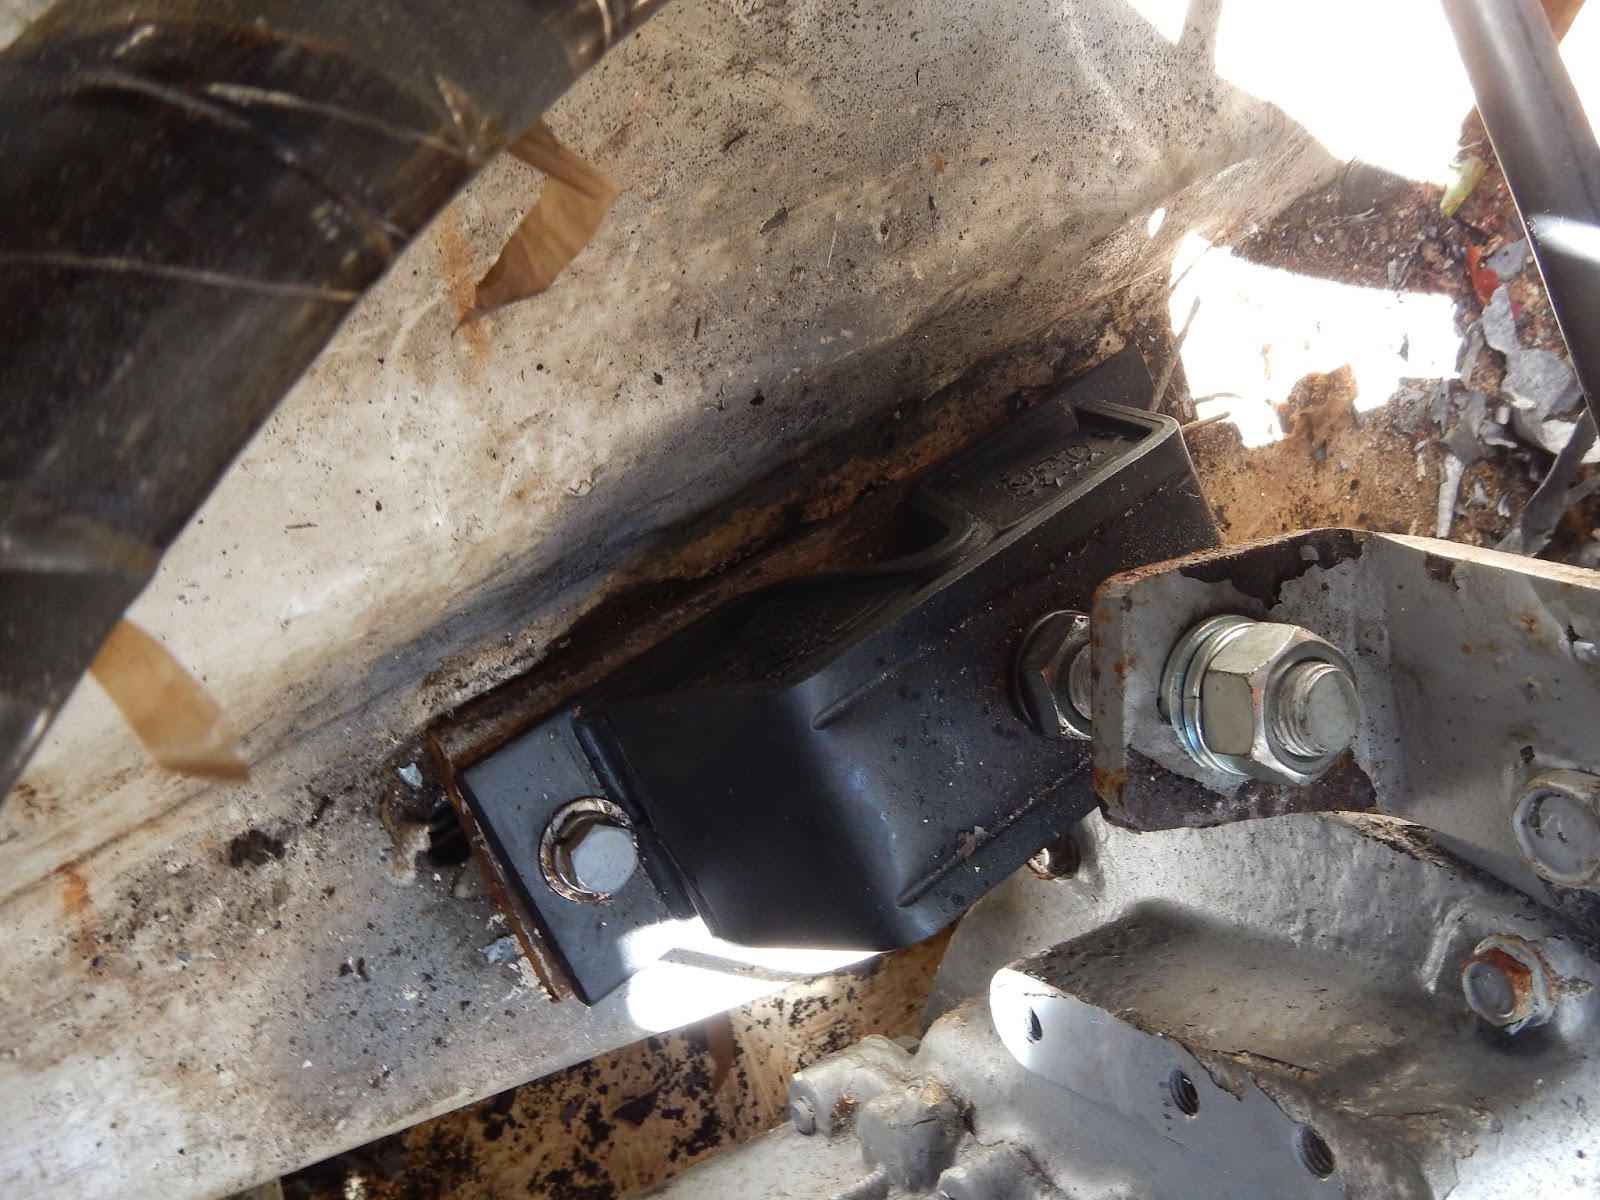
I could not unbolt 2 bolts on the port fore engine mount so I worked around it. You can see them on the right
I took the water pump impeller out of the housing.
The old one on the right actually looks OK so I will keep it as a spare.
Changing the thermostat was a piece of cake. The most painful part was paying for it.
It is a 160 degree thermostat so it allows the red coolant to flow after that temperature. Here it is at 150 degrees.
Finally here is a video of Al who helped me out starting the engine at the end of the day. He was really helpful and it was handy having a professional there for the crucial part.
At the last moment we had battery problems and I ended up running up to the store for a new battery to be able to start the engine. Last time I used my car battery but that was enough to kill it so i had to run out a second time tonight to buy another battery, this time for my car. I bought a new alternator for it as well so tomorrow morning is going to be a car engine work morning.
Overall I liked the diesel engine to work on and so far the engine I have seems to be quite good. I will wait to align the prop shaft when I launch her but otherwise I will not need to do anymore work on the engine side of the boat. Oh one small thing that I still have to do is install a pressure gauge for the racor. The old one does not work anymore.

Thursday, April 3, 2014

Replacing Motor Mounts

I knew going into this job that it was likely to be all day but like all tasks it ended up by taking more effort and more time than I had anticipated.
Here is one of these evil objects.
And here is where a new one is going.
The new ones take a little persuasion to go into place.
But finally it knows it's place.
The thing is, I am not finished. I am having trouble removing 3 bolts on the last mount.  I am having Al come around tomorrow to hopefully get this  project finished. 
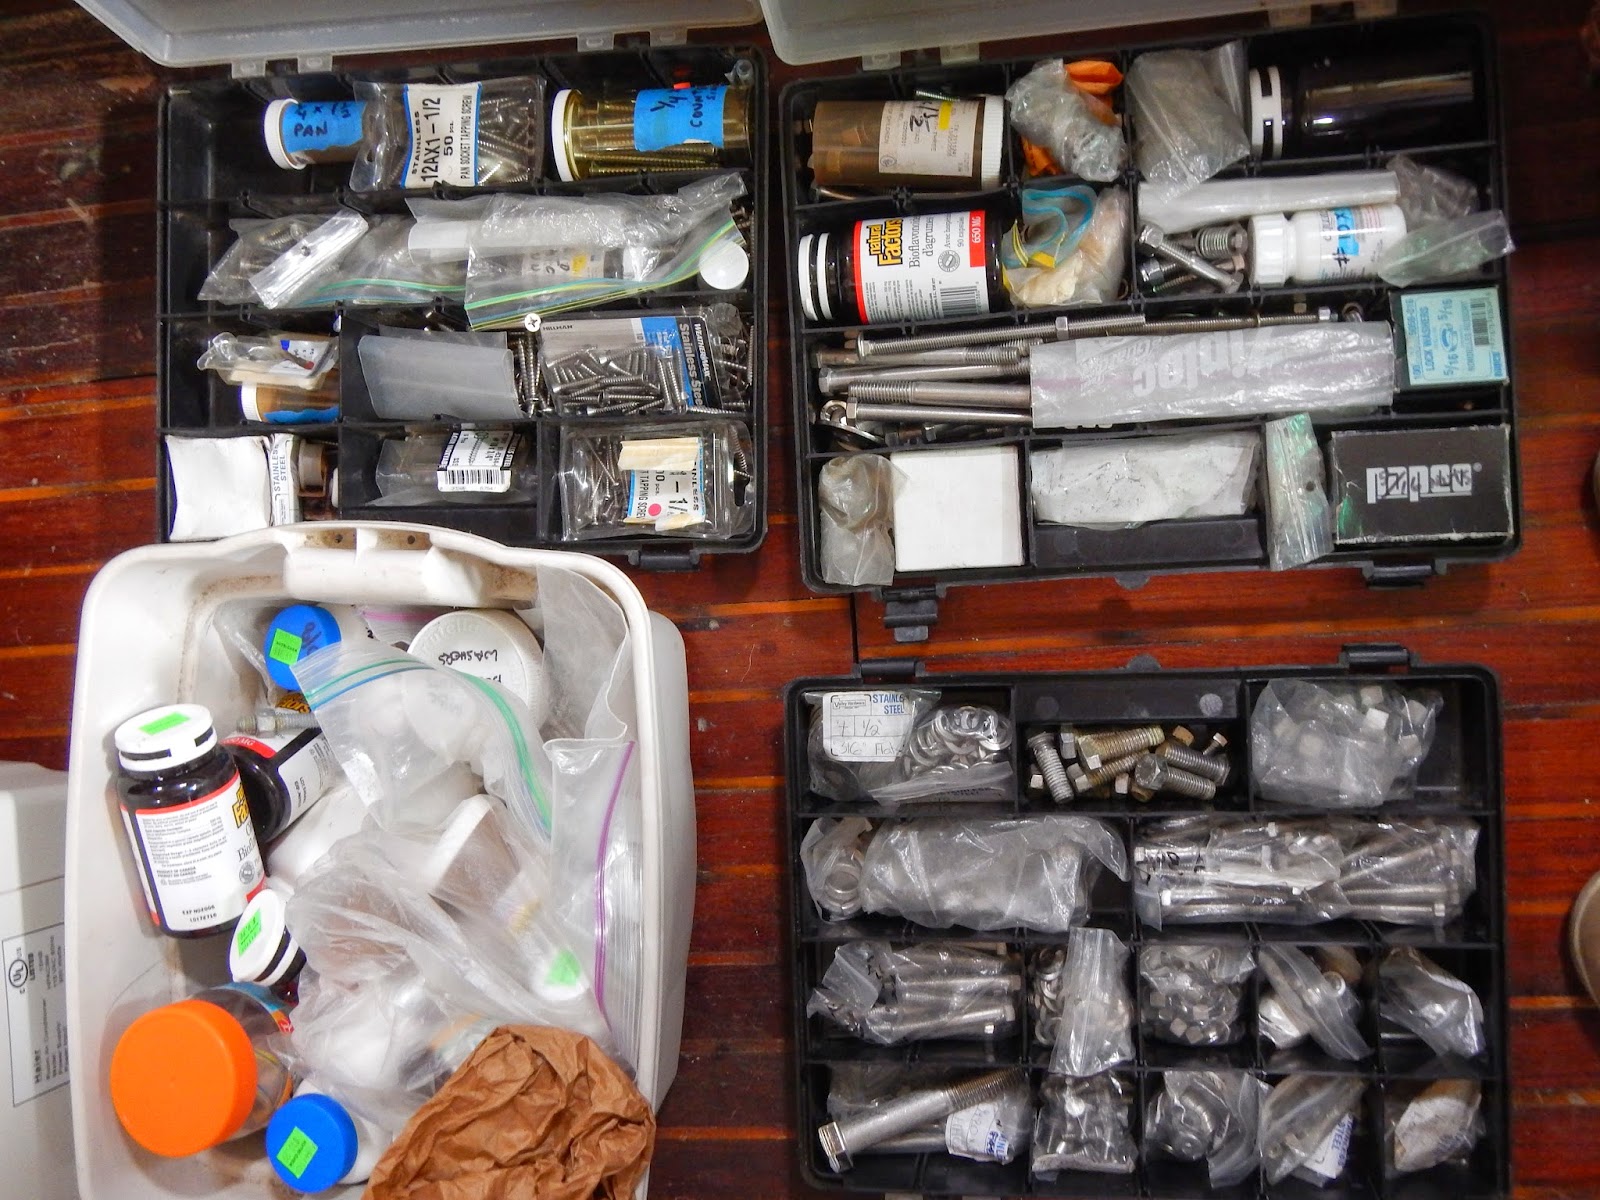
I did venture out to get a part at lunchtime and ended up spending $230 for spare nuts and bolts at a boat 3 up from me that was selling up everything because of health reasons.
So hopefully I will not have to take off to the store to buy a spare screw or nut from now on.

Wednesday, April 2, 2014

Changing the oil

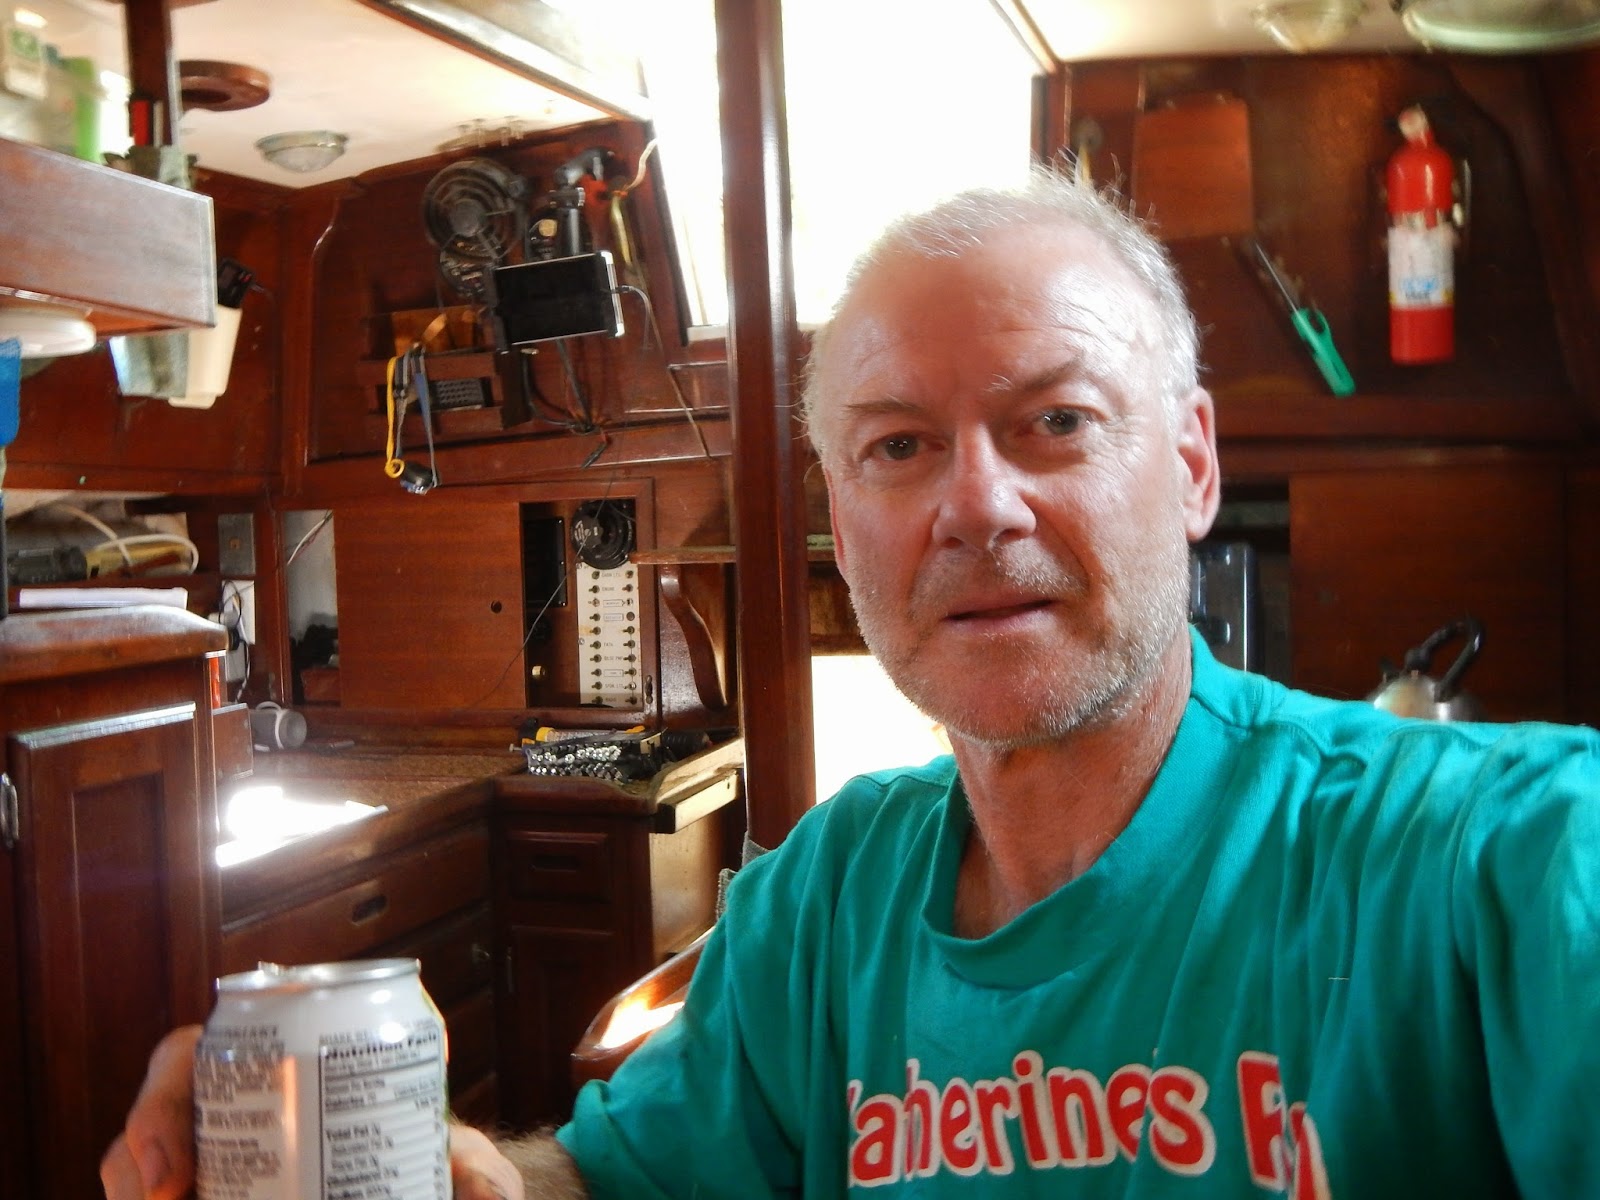
Here is  a picture of me changing the oil on my Yanmar engine.
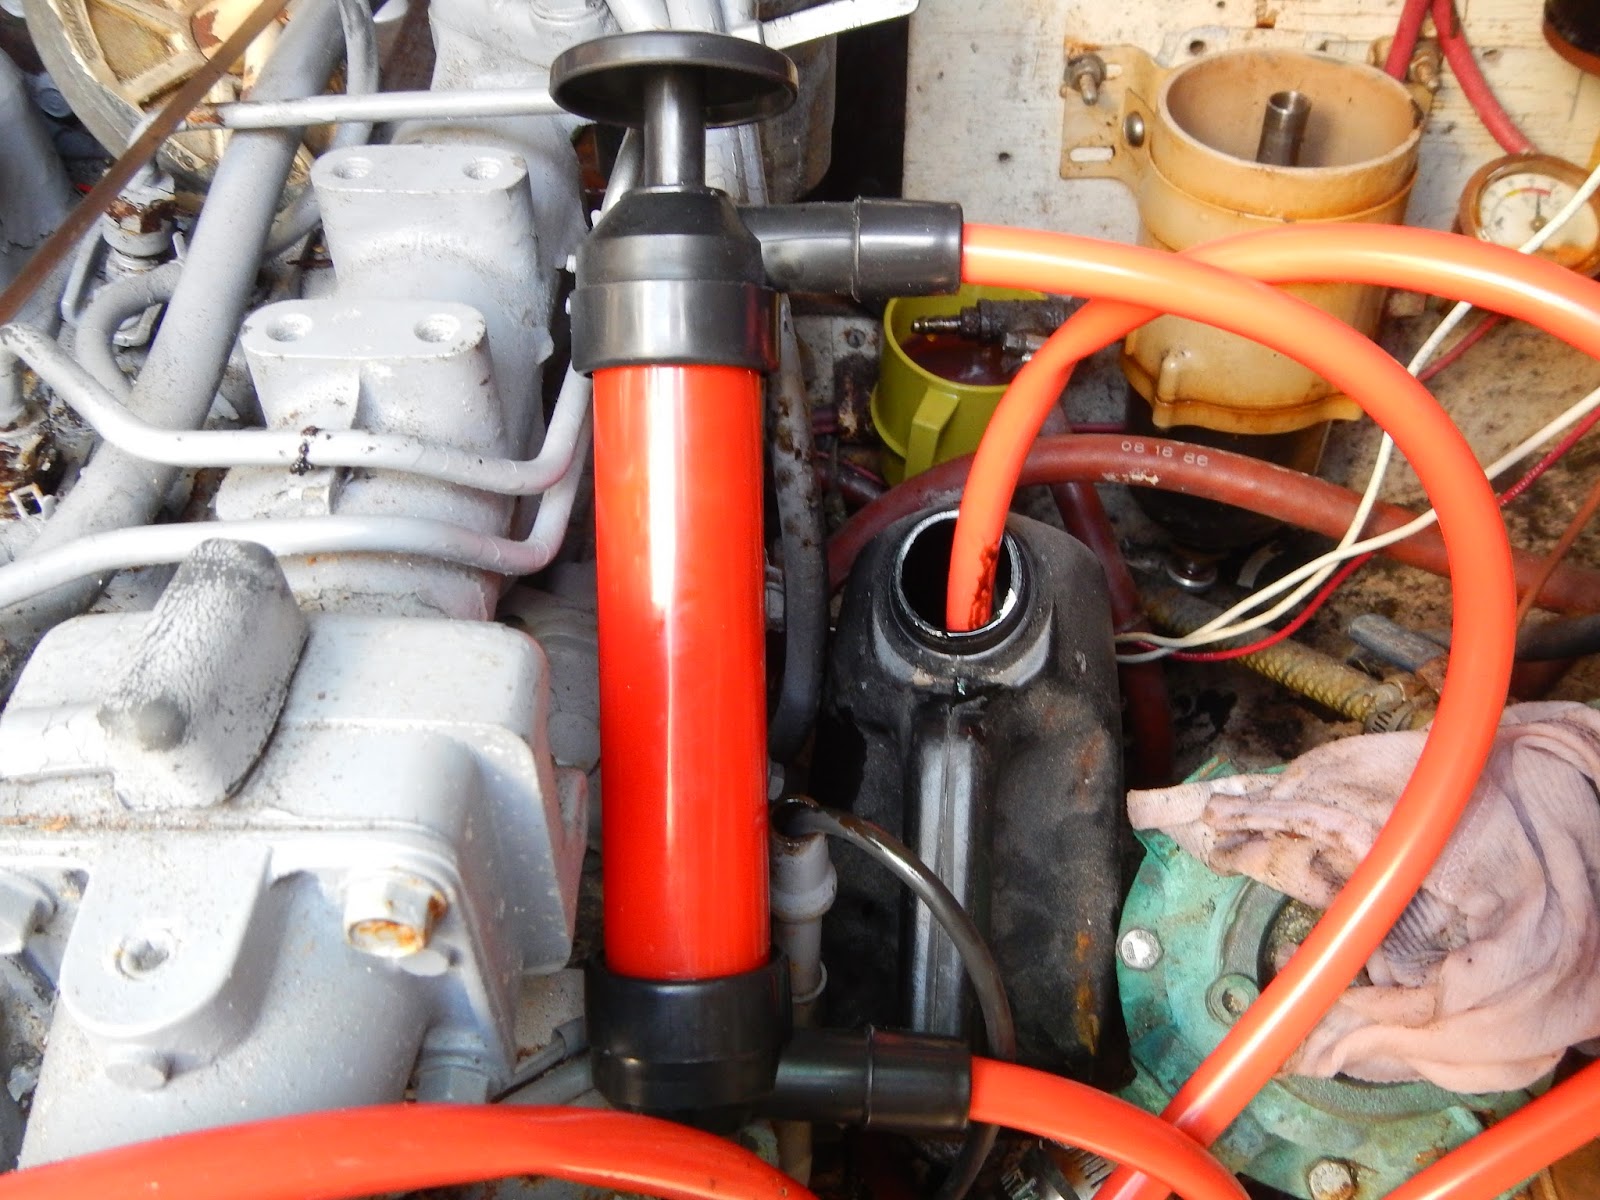
Yes you saw it right but it didn't start out this way. My goal for the day was to change the oil, diesel, water and filters on the engine. I bought a hand pump to change the oil and here it is in action.
 The idea is that you stick the black hose down the dipstick hole and pump out the oil. Well after pumping intensively for 40 minutes I had pumped only about a pint of oil and I was exhausted. The problem was that the rubber hose was too flimsy and kept getting blocked up. So following my tried and proven mantra, of not giving up and instead going shopping I headed for our local Napa.  OK so i had checked on the internet and there were lots of good reviews for these things.
Well let me tell you..........changing the oil was a cake walk with  this gadget. All I had to do was stick the stiff plastic tube down the dipstick hole and give it a little pump. It was all done  in 20 minutes. From now on  there will be no more crawling under the car for me. I can change the oil on the car with it without much effort. The big downside for me is the shear size of the thing. I really do not have the room for it on the boat.
While I was there I also did the easy task of changing the oil filter.
The  next thing I had to do was to transfer all the diesel over from one tank to the other.
So here am I running the nice looking, albeit old diesel out of the starboard tank into a yellow can.
And pouring  it into the port tank. The diesel has two filters, the first being a Racor filter.
Looks not too bad on the outside but take a look inside.
Nasty!!!!
There is also a fuel filter on the motor that I changed.
And lastly  I need to have a look at the  sea water strainer.
Inside is where it counts.
Hard to believe how any water could come through there at all.
These are the little motor mounts that are on my list for tomorrow.
And here is my dinner courtesy of Wally World.

Tuesday, April 1, 2014

New Cushions and engine

Just one photo today of the finished cushions in the main cabin.
I know, I know, they still have got plastic over them but I will take it off when I go cruising full time. The color turned out great and makes the cabin feel warm and inviting. The remaining ones for the V-berth are supposed to be finished next week and then I am getting some outside sewing done this time in green. I did discover a Bimini in a cupboard that I promptly put up over the cockpit to keep it cool. It doesn't quite fit right so I will have to mess with it a bit.
The big news of the day was that I got my engine going. My neighbor with a similar engine was having work done on his Yanmar by  www.alsmobilemarineservice.com, so Al came over afterwards and got it going. The starter I ordered from amazon did not work very well and after fluffing around with jumper cables and dead batteries, I took the battery out of my car and finally after trying for about 10 minutes the engine started. We only ran it for about 20 seconds because I didn't have the water run to it for cooling. Now I have to change the oil, change the oil filter, change the 2 fuel filters and run new diesel. I am not sure what to do with the old fuel but I plan on emptying all of one tank into the other until I decide and  buying new diesel for the empty one. On Friday, Al will be back and we will run the engine with water hooked up and check the propeller shaft and other things. I also have 4 motor mounts ($600!) to install. Phew!

Monday, March 31, 2014

Propane leak and more rigging

After my propane scare yesterday I vowed to make it my top priority today. After using the stove to make my morning cup of Joe, I prepared a spray bottle of dish washing liquid and sprayed it on all the gas connections. Right off the bat I discovered the main culprit on the regulator.
If you look closely you will see all the bubbles. I carried on looking at the solenoid next, which I had tucked away below decks and even though I could not locate any bubbles, I could smell propane. At this point I decided that a total redesign of the system was in order. I set out to move the solenoid inside the propane locker so that any leaked gas would go overboard. I made my daily shopping trip at lunchtime and picked up a new regulator from Home Depot. Here is my new setup which is a little bit tight.
You should be able to see the solenoid at the bottom of the locker in between the 2 aluminum gas tanks. And here you can see the hose and wiring entering the locker above the caprail.
Now there are no propane connections in the boat except at the stove and I checked them and they seem to be OK. I did do another drop down leak test and it doesn't leak anymore however this test is so easy to do so I will put it on my honey do list on an ongoing basis.
Next I wanted to replace the boomkin stays, one of which you can see in the next photo on the port side.
They have special fittings on either end called Norseman fittings which allow for the replacement of the rigging wire. The fittings look terrible at first sight however the rust is only skin deep and easy to take off as you  can see in the next photo with the polished one on the right.
 So here is the starboard one just about ready to go with the old turnbuckle in the center.

I say nearly ready to go because I have to get some 3M 4200 to squirt inside the fittings.
My water tanks and genoa track didn't arrive today thank goodness, otherwise I would have been itching to get started on these new projects.............Not that I haven't got a million things to do on my list already but the problem is prioritizing all the things I have to do. Like, rigging and getting the boat dry have got to be the top priority. Engine work is pretty important too but it is hard to ignore all the cosmetic stuff like caprails. They sorely need painting but it will just have to wait.  Oh and while I think of  it, I stopped by at the Yanmar dealer today and ordered new motor mounts along with an impeller and thermostat to pick up tomorrow. Fun, fun, fun!

Sunday, March 30, 2014

New Caprail and a drop down propane test

Today I focused on installing a 12 foot section of caprail that was broken in tropical storm Beryl. It has taken me ages to do this project because I was not sure whether I wanted to replace all of the caprail or just the  parts that needed  it. The old caprail was mahogany so I bought some from Woodcraft and in the end it was not that big of a deal.
I did the missing section in 2 parts to allow for expansion and laid the boards out and used a pencil to outline the bulwark pattern on the underside of each board. Measure 7 times, cut once!
Cutting out the pattern with a jigsaw was a cinch.
So the first one went in smoothly.
I used recessed 2" stainless steel screws to anchor the caprail on the bulwark.
And there  above is the second piece down .................all ready for the genoa track which is due to arrive from Westsail Parts tomorrow. Actually, come to think of it, I have to seal it first. There are more sections of caprail to do, fore and aft and this wee project has given me confidence to tackle these, when I get a chance.
While I was outside, here are my new belaying pins in my old teak pin rail. Not too bad for my first ever attempt at using a lathe. Looks incongruous with 40 year old teak against new mahogany.
Just for kicks and giggles, I tried cutting some spare rigging wire I had on board with my bolt cutters. Not anything like easy to do. I think in an emergency, I shall first reach for a hack saw.
Have a look at the pin in the middle of the next photo. It is called a clevis pin. It holds the boom onto the mast, and as such is a critical part on the boat. Anyway, after the rigging project, I could not find it for the life of me so I had to order a new one (and a second as a backup) for $45.......not cheap.
I bought this plastic base to go in the bottom of my kitchen sink to improve it's looks. Even barkeeper's friend wasn't enough to make it look presentable. 
I used some Velcro to put some family photos up on the wall to give it that lived in feel.
I bought a propane pressure gauge from home Depot to install on my tank to do a drop down test.
So you can imagine my horror after installing it to find the pressure dropping down to empty only 3 minutes after turning off the gas at the tank. All day I was worried  sick about it, conjuring up all sorts of burned charcoal scenarios. I drove to the store tonight and bought some dish-washing liquid to spray on all the joints to locate the cause of the leak. However I never got to use it. I decided to use the stove for my dinner and when I did the leak down test once more there was no leak!!!!!! Weird. I am not sure of the reason. It could be that it is a lot cooler now or it could be that the teflon tape has expanded under pressure..........I do not know. All I know is that I will continue doing these drop down tests until I am convinced that it is safe. Phew!
For my dinner tonight I splashed out and bought some halibut.
It was delicious.

Saturday, March 29, 2014

Wiring and new yanmar starter

Well I am back at the boat or another 2 weeks to work on her. I am pleased that after 3 months she has remained quite dry inside. However despite all that work I did on the port caprail, there was still a slight leak under it.
NASTY!!!!! So I will have to track it down when I get a chance.
I made a mistake last year in buying a wally world 12v outlet with USB connections that ended up short circuiting and blowing a fuse.
In replacing it I decided to get a circuit breaker panel because there is not much protection in the boat's wiring. I took down a "oil discharge warning" so I will probably be jailed for life and fined a gazillion dollars.
I cut away the half inch ply backing board with a very useful jigsaw.
And mounted the panel.
As well I used these fused wires to make the hot connections.
On the battery I replaced my 30 Amp fuses and promptly blew another one while working on the next project. Grrrrrrr!
The next project was replacing the Yanmar starter.
I got stuck on one of the connections so had to run up to Home Depot. While i was there I stopped in at Target and bought some frozen veggies, a can of Northern beans, yogurt and some raspberries for my dinner. It is really late but I am determined to walk a little before I shower and head to bed.